Estimated reading time: 9 minutes
This article is all about making a video loop on iPhone using both inbuilt features and through apps.
Table of contents
Video Looping is a feature that enables you to play the videos in a repeated mode. It means that you can play videos continuously without skipping to the next. Loop video means constantly playing the video as the video keeps on repeating itself without going to the next video. Also, you can record videos on loop on your iPhone. This means that you can continuously record any video to camera memory space by replacing it with a previously recorded clip with a new clip if the camera goes out of space.
How to make a Video Loop on iPhone step by step procedure
An iPhone, for example, is a bundle of apps with a plethora of functionality, and video making and editing are one of them. The iPhone lets you make videos like a pro; you can trim & adjust the speed of the videos; upload videos to YouTube, and even you can make a video loop with your smartphone.
Here we will be discussing the step-by-step process to create a Video loop on iPhone. The methods include both inbuilt features and apps features to make loop videos easily on iPhone. Let’s have a look at these methods and their steps. These steps are as simple as turning on the battery percentage of your iPhone.
Boomerang app for recording a Loop video on iPhone
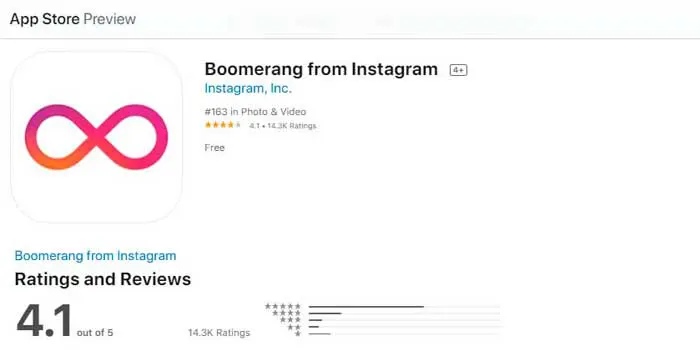
- The first step is to download the Boomerang app on your Apple device. All you have to do is go to the App Store section of the phone and search for the Boomerang app in it. You will see a purple-pink infinity white box. Click on it, and you will see a download option downside. Click on the download and install it. Enter your I phone’s touch ID when prompted.
- Once the app is installed, open it. Now swipe left to the welcome screen and tap on the get started option.
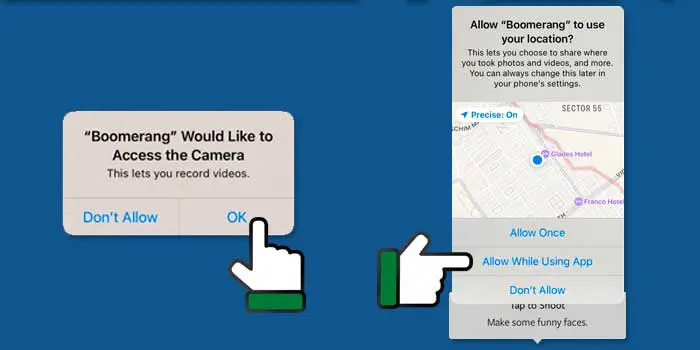
- On opening the camera of the app, it will ask for permissions. Tap on ok to grant all the permissions and allow the camera to record videos. Also, grant other permissions such as location and others on your wish.

- Now tap on the ok option to save your looped video and get started. Here your camera will get switched on, and here you go to create your first loop of video making. Now check out the below-mentioned steps on making a video loop on iPhone.
- Now the first step in making the video is aligning the subject of your video to the camera. If you want to record the video with the rear camera, tap on the two curved arrows that appear on the screen’s bottom right corner and vice versa. Also, on the topmost side, there is a flash icon switch it on and off as per your wish.
- This step is to record the video. Here you need to tap and hold the shutter button for a few minutes as much big video as you want to record.
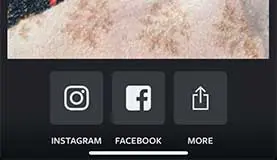
- Once the final shot is done, your looped video will appear on the screen. After this, a sharing icon on Instagram or Facebook will appear at the bottom of the screen. Share on these apps as per your wish and tap on more options to share with a different app.

- Once the video is created, tap on the Save option at the top right corner of the screen. The video will get saved to your camera roll.
Well, you are done with making a loop video through the boomerang app with these steps on your iPhone. Follow these simple steps and make your funny, smart, elegant videos and enjoy.
Making a Loop video using Looper
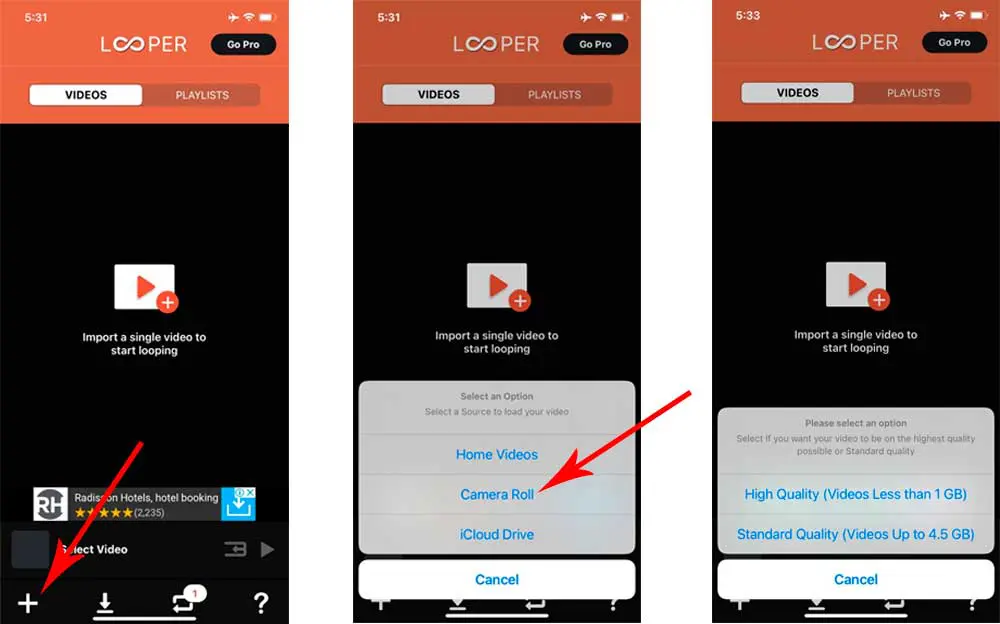
- The first step involves downloading the app looper on your device. It is a free app available. To download it, you have to go to the App Store section.
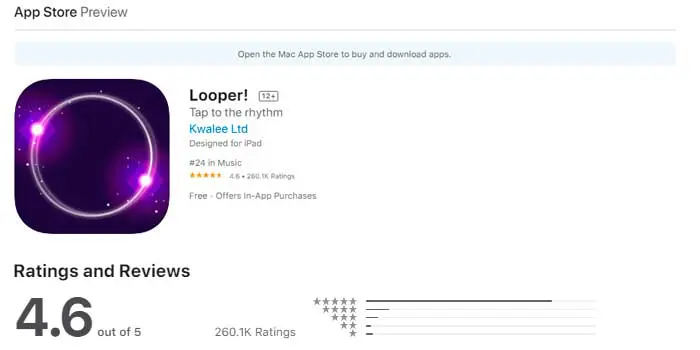
- Search for the looper app in the app store and tap on getting. You will see an icon of a red infinity box representing the looper app. Now enter your iPhone’s Touch ID when prompted.
- Once downloaded and installed, open the app. Now tap on the + plus icon. After tapping on this, you will be directed towards the camera roll.
- Tap on all photos when prompted. Your iPhone’s camera roll will open. All your videos will appear on the screen.
- Now choose a video you want to loop. Tap on the video you want to loop. Also, note that Looper opens the oldest video at the top side, so to open and view the latest video, you need to scroll down at last.
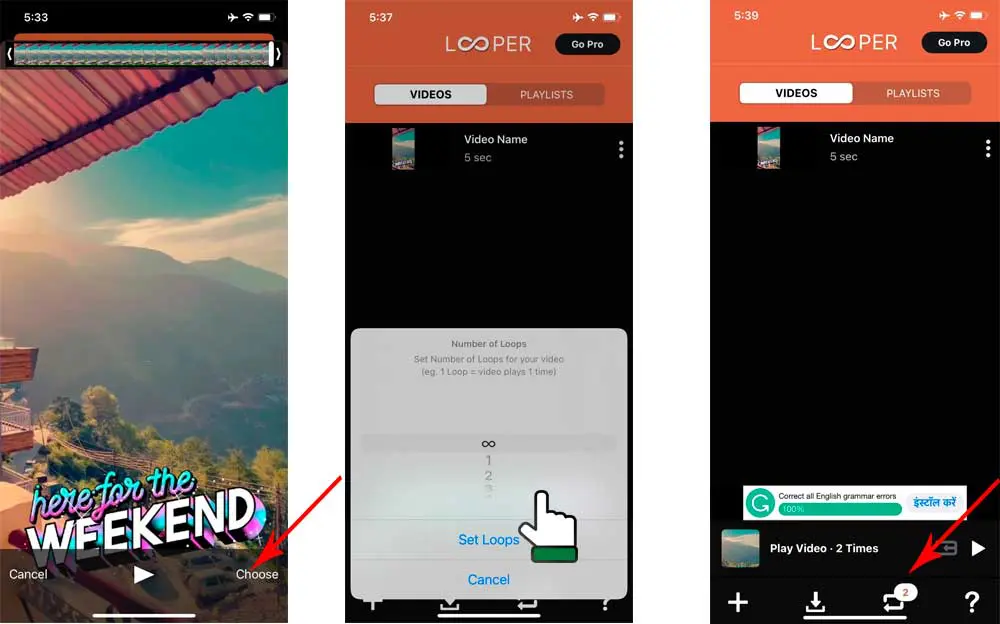
- Now tap on choose option, which is just the downside of the video, and your video will get open in Looper.
- Now tap on the red repeat button. This is just on the bottom right most corner of the screen.
- You will see a slider at the bottom of the video screen. This slider indicates how much time you spend playing the video in the loop. If you drag the slider towards the right-most corner, this shows that the video will play the maximum times. So drag the slider according to your wish on your preference of how much time you want to play the video: mid-level, most minimum level, or most maximum level.
- Now tap on the checkmark, which is just next to the slider. Now tap on the video and the download icon at the bottom side of the screen to download the video.
- Tap on the Yes option when prompted. This will export your looped video.
- The next thing is to choose the orientation, that is, landscape or portrait, according to your wish and your video’s preference.
- After this, tap on yes when prompted. This will save your video in the camera roll.
- Tap ok once you see the success message. Your looping video is saved in the Photos app. Open the video by tapping it in the Photos app and play it and enjoy.
Making a loop video through inbuilt feature
This inbuilt feature is all about the I phone’s camera app. Learn how to do this by following steps:
- Open the camera app of your device. This is just on the main screen.
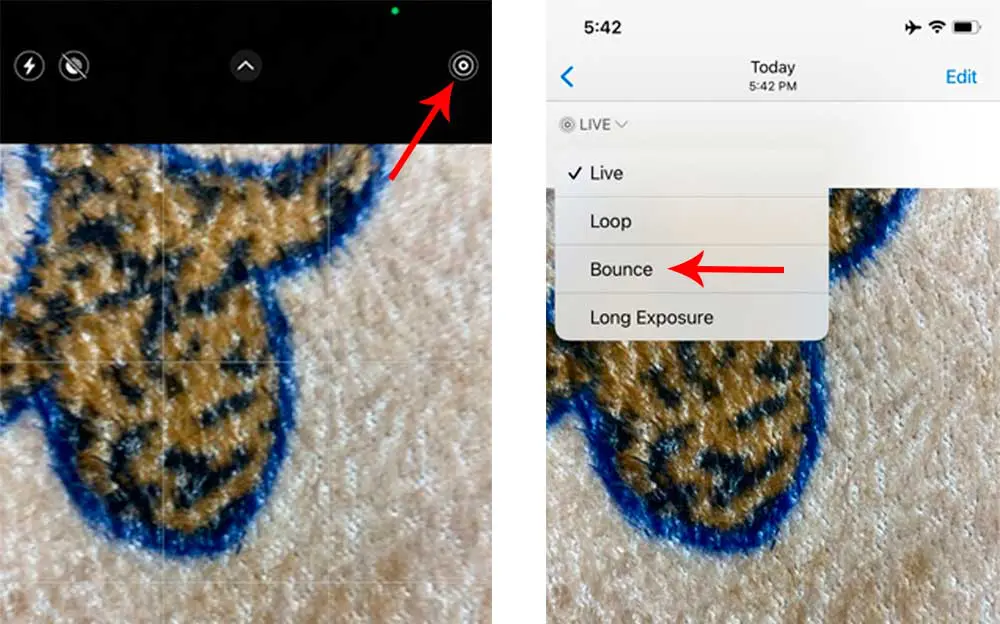
- Turn on the Live photos option in the camera section.
- Click a live photo using the iPhone camera app.
- Go to the iPhone Photos app and choose the photo you clicked to open.
- View the pic you clicked and set it to bounce. This is done easily by the bounce option available at the top-most side of the screen.
Frequently Asked Questions
Repeat button or precisely the Live Photos option is visible in the iPhone camera app as soon as you open it. The Live Photos icon is essentially three concentric circles on the top right of your screen.
Go to the camera roll and select the live photo you want to convert into a loop and save. Next, click on the bounce or loop options, and iPhone should save a separate loop video along with the Live Photos.
Yes, you can loop videos in the camera roll. To do this, go to the Camera Roll and select the live photo you want to loop. Then click on the bounce option, and your live images will turn into a loop video.
Tips:
If you want to loop your desired video from the Looper app, select the video through the + icon and play the video through the play button on the top left corner of the screen. Make sure to do this after turning on the ‘Forever’ switch.
Warning:
Also, keep in mind that making a video through the Looper app will decrease the quality of your video before exporting it.
Conclusion:
Summing the video on ‘how to make a video loop on iPhone,’ we have discussed all the importance of both apps and inbuilt features to make a loop video in your iPhone. The steps mentioned above are pretty easy to perform and make loop videos on your iPhone. If you love making loop videos and want to explore more of them, this article will surely help you out to do so. Follow the steps mentioned above and enjoy making videos.
We hope our article was of some use to you and now you can easily make loop videos and enjoy them. If you have any related questions, comment down your question in the comments section below!
